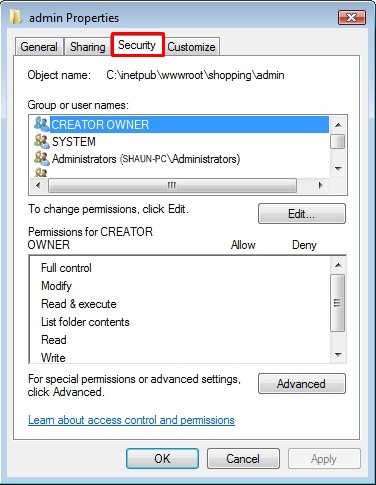
8. Setting VPCart Folder Permissions In Your Web Server
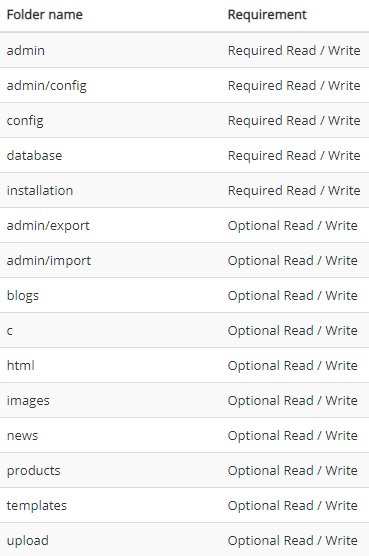
VPCart requires that a number of folder permissions be updated so they have READ/WRITE allowed. Here is the list of folder permissions required for your VPCart.
Changing permission in plesk and cPanel interfaces
Below are the complete steps for setting folder permissions in plesk and cPanel interfaces. If you’re not using one of these systems, ask your web host how to change folder permissions:
Plesk folder permissions
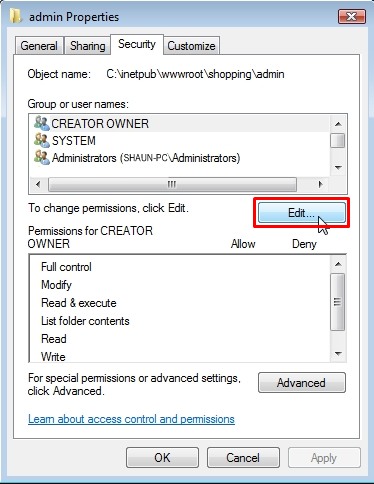
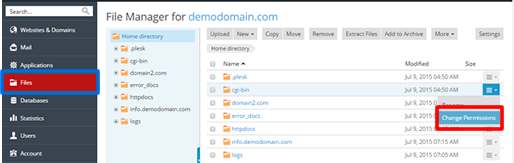
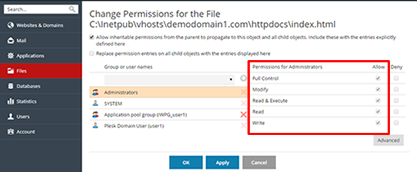
a) Go to Files, locate the file or directory for which you want to set access permissions, and click the arrow in the corresponding row.
b) Click Change Permissions in the drop-down menu.
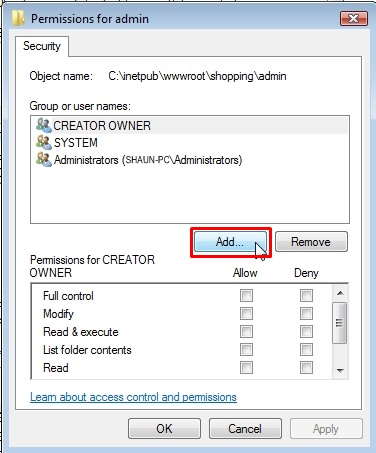
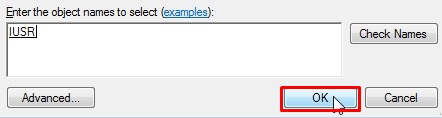
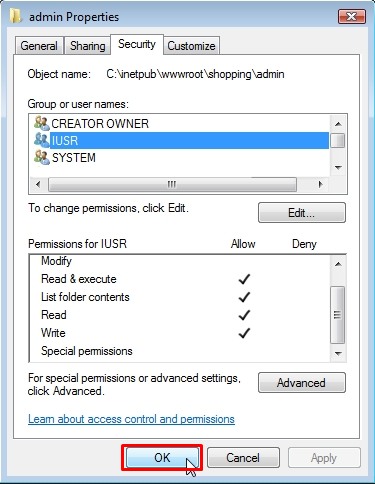
c) To change or remove permissions from a group or a user, click the required name in the Group or user names list. If the group or user is not listed in the Group or user names list, select the required user or group name from the menu located above the list and click : the user/group appears in the list. Select it.
To allow or deny permissions to a selected group/user, select the Allow or Deny checkboxes corresponding to permissions listed under 'Permissions for ‹user/group name›'. If the checkboxes in the Allow or Deny columns are shown in grey, it means that the corresponding permissions are inherited from a parent folder.
: the user/group appears in the list. Select it.
To allow or deny permissions to a selected group/user, select the Allow or Deny checkboxes corresponding to permissions listed under 'Permissions for ‹user/group name›'. If the checkboxes in the Allow or Deny columns are shown in grey, it means that the corresponding permissions are inherited from a parent folder.
d) Repeat the step a until c for the other folders that needs READ/WRITE permissions.
cPanel folder permissions
a) Log into the cPanel for your website. The address is usually www.website.com/cpanel, and the username and password would have been provided by your host when you first joined.
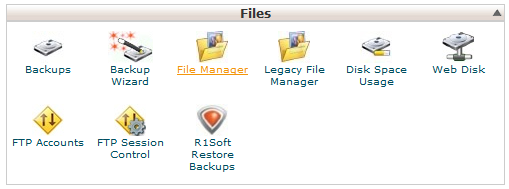
b) Under ‘Files’ click on ‘File Manager’
c) If you see the ‘Directory Selection’ window, choose the option that best suits the location of the files or folders you want to access – ‘Web Root’ will give you the directory where you website is hosted.
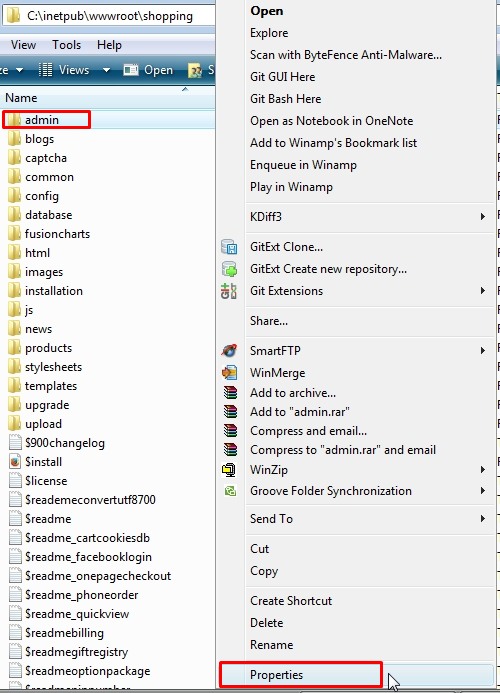
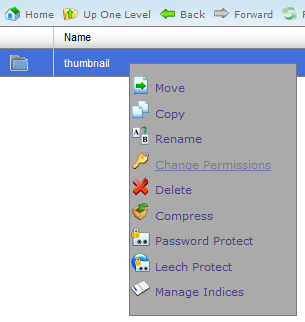
d) Browse to the file or folder you want to change the permissions of.
e) Right click and choose ‘Change Permissions’
f) In the window selec the permissions that you want to set the file or folder, in this case, allow READ/WRITE.
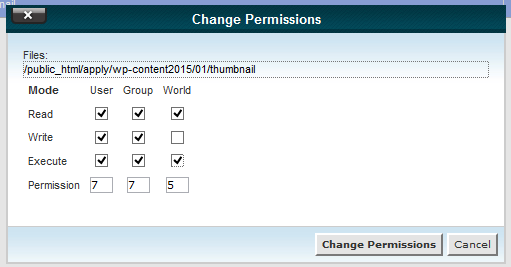
g) Click ‘Change Permissions’ to confirm the changes.
h) Repeat the step a until c for the other folders that needs READ/WRITE permissions.